Understanding the Skills Required for Successful DIY Double Glazing
Table Of Contents
Step-by-Step Installation Process
Before beginning the installation, gather all necessary tools and materials. This may include double-glazed units, silicone sealant, a utility knife, and a level. Start by carefully measuring the window frame to ensure accurate fitting of the double glazing units. Remove any old glazing and clean the frame thoroughly to provide a proper surface for sealing.
Next, apply a bead of silicone sealant along the frame where the double glazing unit will be placed. Carefully position the unit into the frame, ensuring it sits evenly and securely. Use a level to check that the unit is aligned correctly. Once satisfied with the placement, fill any gaps between the frame and the unit with additional sealant to prevent drafts and moisture intrusion. Allow sufficient time for the sealant to cure before proceeding with any further installation work.
Key Phases of Double Glazing Installation
The installation of double glazing involves several critical phases that ensure both effectiveness and durability. The first step typically involves measuring the window frame accurately. This measurement determines the size of the double-glazed units required to fit snugly within the existing frames. Once measurements are taken, selecting the appropriate materials and glass types follows. Homeowners often have a choice between various frame options such as uPVC, aluminium, or timber, each offering unique benefits.
After preparing the frame and selecting materials, the next phase involves the actual installation of the double-glazing units. This process requires careful handling to avoid damage to the glass. The units must be positioned precisely within the frame, and proper sealing techniques are crucial to ensure energy efficiency and prevent water ingress. Following the installation, it is essential to inspect the seals and check for any potential air leaks. This ensures that the installation not only meets aesthetic standards but also functions effectively in enhancing insulation.
Common Challenges in DIY Projects
DIY double glazing can often present a variety of obstacles that may catch even seasoned enthusiasts off guard. One of the most prevalent challenges is achieving precise measurements for the frames and glass units. Inaccurate sizing can lead to significant issues during installation, resulting in gaps or misalignment. Additionally, the weight of glass panels can be daunting, requiring careful handling to prevent accidents or damage.
Another common issue faced by DIYers is the need for a weather-tight seal. Ensuring that the sealing process is performed correctly is crucial for preventing draughts and moisture ingress. Many individuals underestimate the importance of using the right materials and techniques for sealing. This can lead to future problems, including condensation between panes, which negates the benefits of double glazing. Proper planning and preparation can mitigate many of these challenges, allowing for a smoother installation process.
Troubleshooting Tips for Glazing Issues
Mistakes during the double glazing process can lead to issues such as air leaks, condensation, or distorted panes. If you notice air escaping around the edges, check for proper sealant application. An inadequate seal can lead to significant thermal loss. Address condensation problems by ensuring the space between the glass panes is correctly filled with a desiccant to absorb moisture. Any distortions in the panes usually result from improper handling or installation. It’s crucial to ensure glass is adequately supported during installation to prevent this.
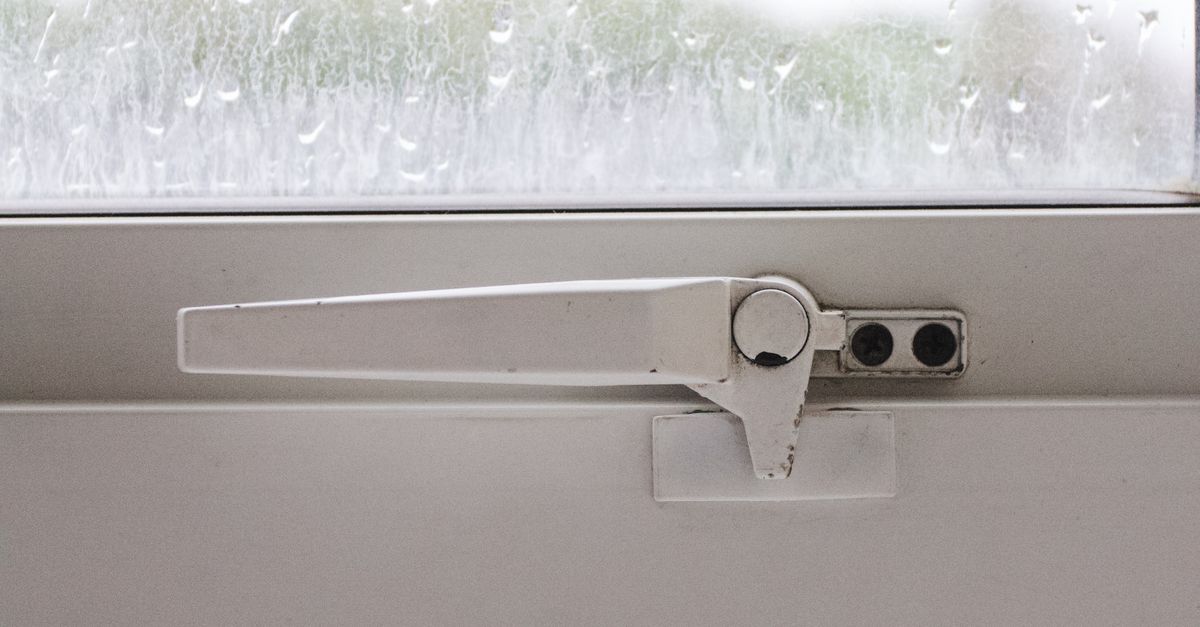
In instances where you experience difficulty closing or opening windows, inspect the frame alignment. Misalignment can occur during installation or due to natural settling of the house structure. Adjusting the hinges or repairing the frame can alleviate this issue. Additionally, ensure that any protective films or packaging are removed before sealing the unit, as these can affect the overall finish and functionality. When facing persistent problems, consulting with professionals can be advantageous for identifying underlying issues that may not be apparent.
Safety Precautions to Consider
When embarking on a DIY double glazing project, ensuring personal safety is paramount. Always wear appropriate protective gear such as safety glasses to shield your eyes from flying debris and gloves to protect your hands from sharp edges. Depending on the tools you’re using, earplugs may also be necessary to guard against hearing damage from loud equipment. Secure your work area to prevent accidental trips or falls, especially if you're handling heavy glass panels.
It is crucial to follow safe handling practices while working with glass. Transport panes with care, keeping them upright to avoid unnecessary stress on the material. If working at heights, use sturdy ladders and consider having a helper on hand for extra support. Make sure your workspace is well-ventilated, particularly if you're using adhesive products that may release harmful fumes. Being mindful of these precautions will create a safer environment for your DIY endeavours.
Protective Gear and Best Practices
Ensuring personal safety is paramount during any DIY double glazing project. Using eye protection is essential to shield against glass shards and dust. A sturdy pair of gloves offers protection from sharp edges and provides a better grip on potentially heavy materials. Additionally, wearing a dust mask can help mitigate inhalation of harmful particles, particularly during the cutting phase. Sturdy footwear, ideally steel-capped, is crucial for safeguarding feet from any dropped items.
Planning the workspace is equally important to facilitate a smooth installation. Clear the area of any clutter to reduce tripping hazards. Adequate lighting allows for a meticulous examination of materials and processes. Keeping tools organized will minimise delays and promote efficiency, making it easier to locate what is needed during each phase. Regular breaks should be scheduled to maintain focus and reduce fatigue, which is essential when handling specialised equipment.
FAQS
What skills are essential for a successful DIY double glazing project?
Essential skills for DIY double glazing include basic carpentry, measuring and cutting techniques, a good understanding of glazing systems, and the ability to follow instructions carefully.
Do I need any special tools for DIY double glazing?
Yes, you will need specific tools such as a glass cutter, a tape measure, a level, safety goggles, and possibly power tools like a drill or saw, depending on your installation method.
How long does it typically take to complete a DIY double glazing installation?
The time required can vary widely depending on the size of the windows and your experience level, but on average, a straightforward installation may take a few hours to a full day.
What are some common mistakes to avoid during DIY double glazing?
Common mistakes include inaccurate measurements, improper sealing of the glass, neglecting safety precautions, and rushing the installation process.
Is it necessary to have prior experience with home improvement projects to attempt DIY double glazing?
While prior experience can be beneficial, it is not strictly necessary. With careful research, planning, and adherence to guidelines, beginners can successfully complete a double glazing project.
Related Links
How to Prepare Your Home for a Professional Double Glazing InstallationKey Factors to Consider When Choosing Professional Installers
The Importance of Compliance with Local Regulations in Professional Installations
Evaluating Your Confidence Level for DIY Installation of Double Glazing
How to Choose the Right Double Glazing Experts in Perth